Custom GPS Mount
I've been wanting to get my GPS off my windshield for some time.
The problem is where to move it. I am not a fan of the bean bags's for
the dash and there is not really anywhere to mount it on the front or bottom
of the dash. There also is no where convenient to mount it on the
console. I really wanted to move it to the roll cage, but after lots
of searching I was unable to find an aftermarket mount that would let me
mount my GPS the way I wanted and keep the functionality of the factory
Garmin mount. I looked at several companies like Ram Mounts, Arkon and
Kuda mounts but none of them offered a powered mount like the stock Garmin
mount.
Phase I - Trying to figure out just what I am going to do.
|
|
|
|
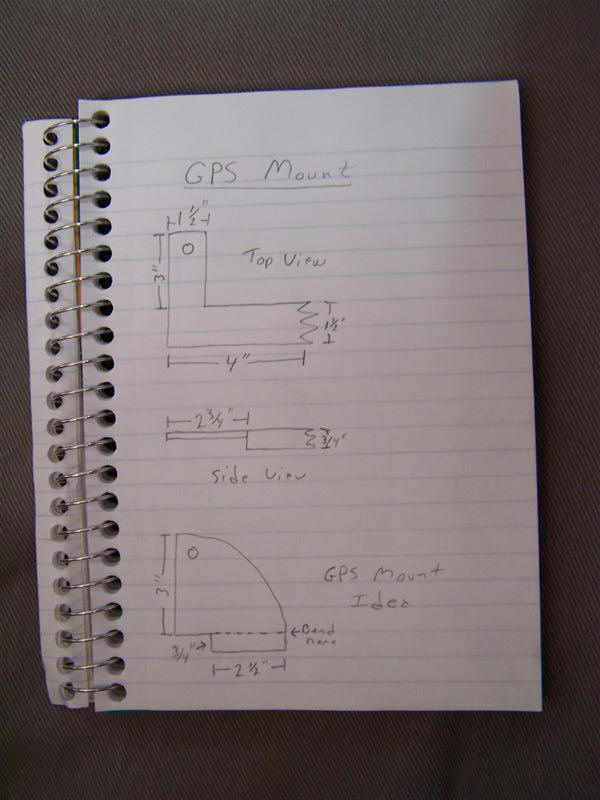
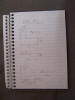
It all started with a sketch of what I wanted to make.
|
|
|
|
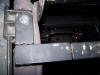
My idea is to mount it right in the corner of my Arizona Rocky Road CB mount. This is the top side of the door surround over the driver side door.
|
|
|
|
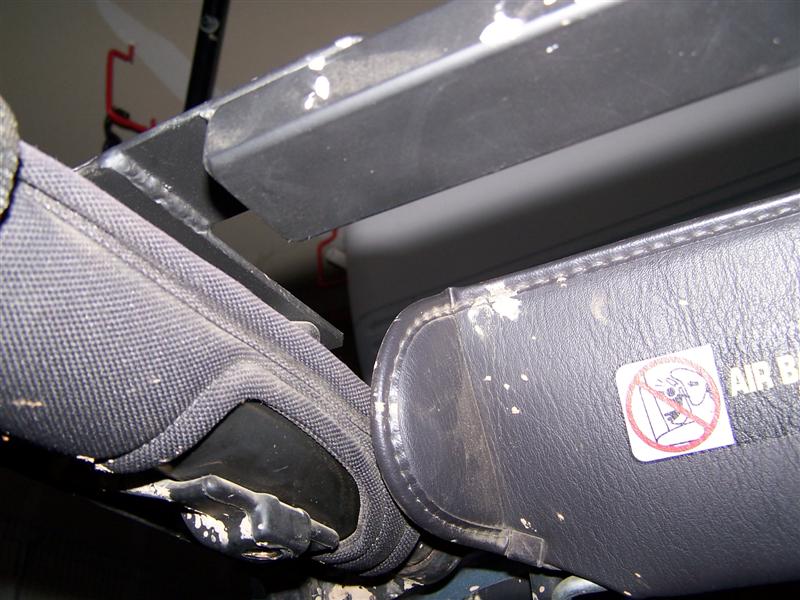
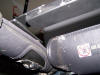
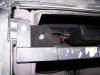
And here is a picture of the bottom of the area. As you can see, there is not a whole lot of room here, but I think my GPS will fit just fine.
|
|
|
|
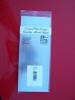
I made a quick trip to Ace Hardware to pick up a small piece of aluminum. The cost was just over $3. I have the rest of parts already.
|
|

|
|
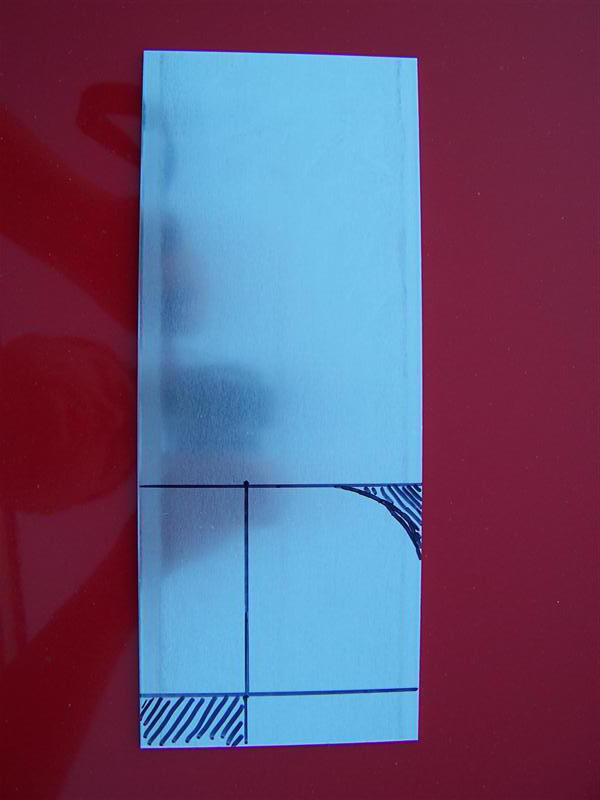
I sketched my idea on the aluminum stock
|
|
|
Phase II - Fun with power tools, time to form the GPS
mount
|
|

|
|
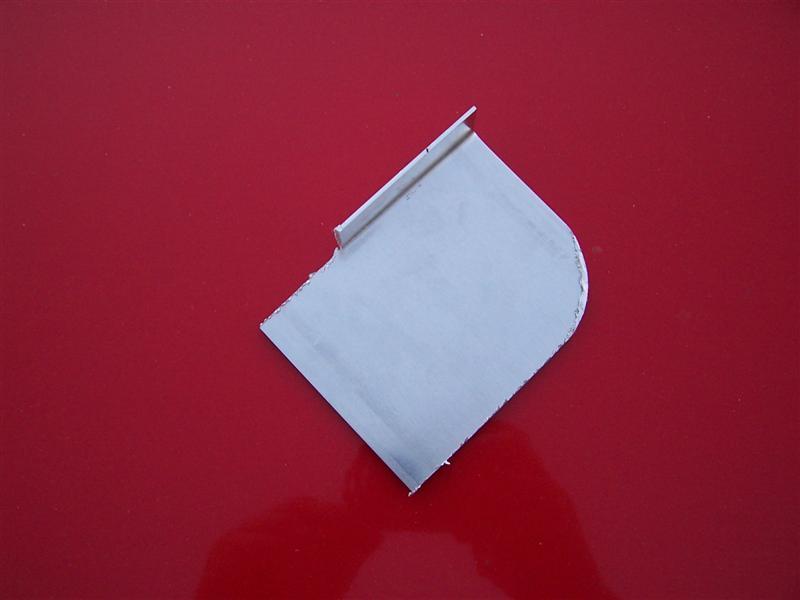
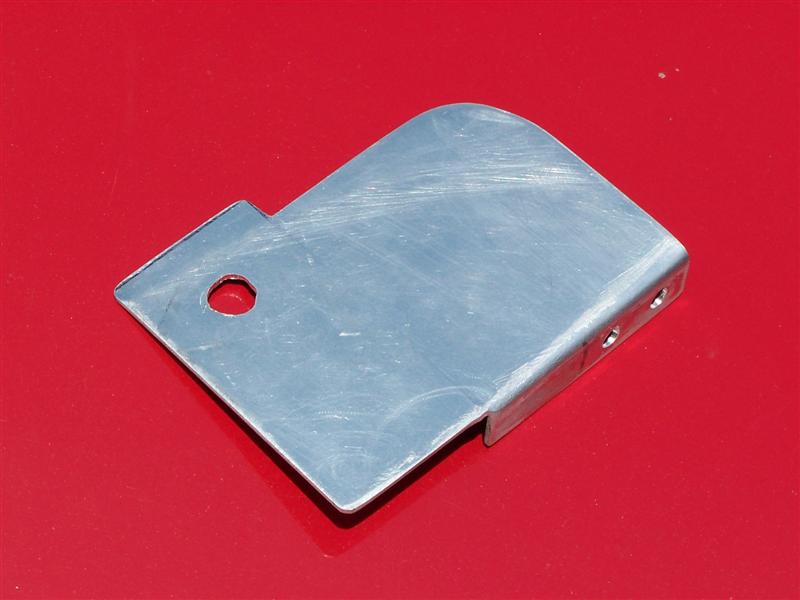
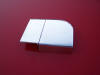
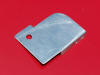
I cut it out with a cutoff tool and bent it in a vise. So far, so good.
|
|
|
|
And this is what it looks like from the back side.
|
|
|
|
I plan to use the existing bolt in my door surround to hold this in place. I drilled a hole to match the bolt in the door surround.
The two holes on the back side of the mount I will use pop rivets to attach it to the Arizona Rocky Road mount. |
|
|
|
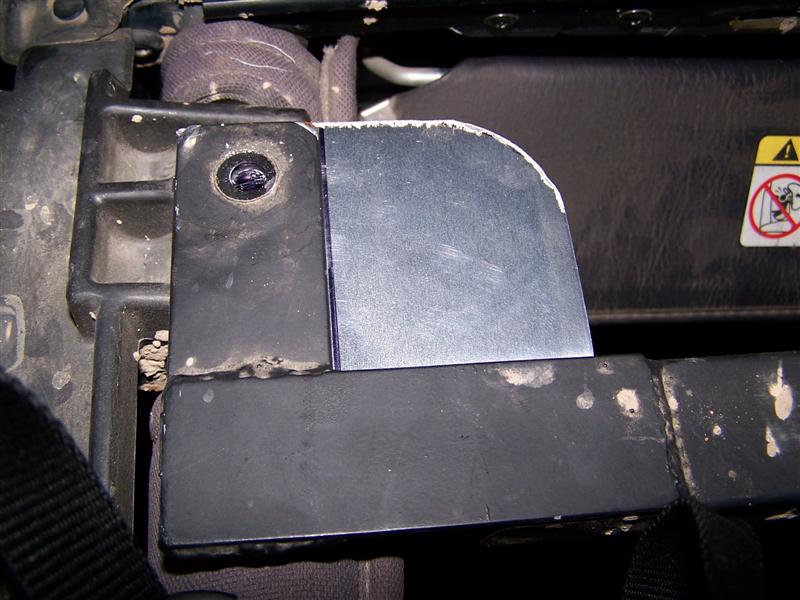
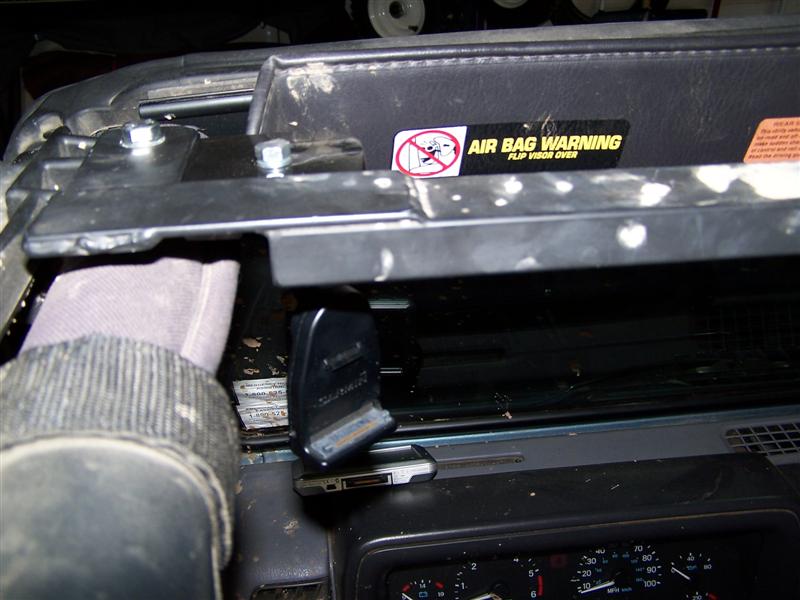
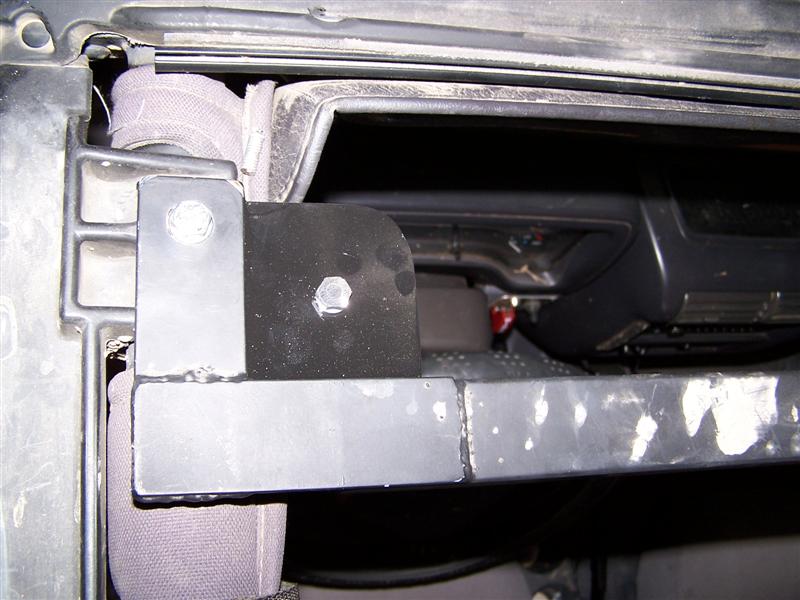
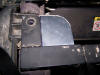
This is the first test fit. Not bad, it fits the way I wanted.
|
|

|
|
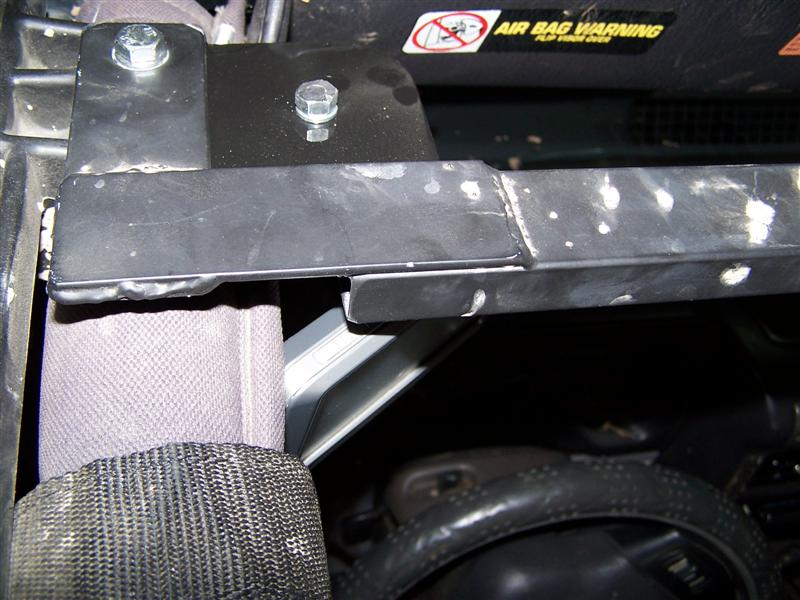
A bottom view of how it will look from the driver seat. I have to do a little trimming so the visor will move without hitting the GPS mount.
|
|
|
|

|
|
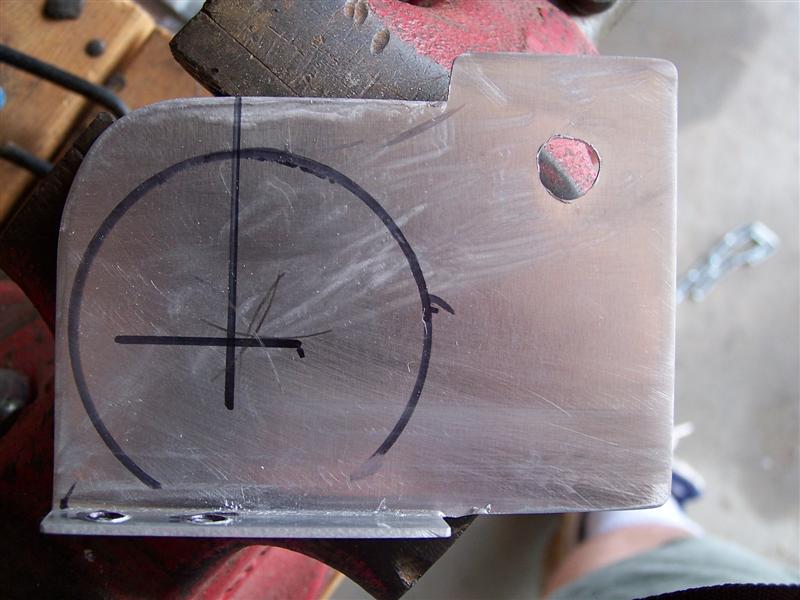
Time to drill a hole to mount the Garmin GPS mount. My first X was visibly not in the center, so I had to devise another way to find the center.
Looking at the top of the mount, you can see the extra material I had to remove to clear the sun visor. At this point, I also could have formed the mount to closer fit the size and shape of the stock Garmin mount. But it's close enough for me. |
|
|
Phase III - Time to cut up the Garmin mount so it will
work with the one I made.
|
|
|
|
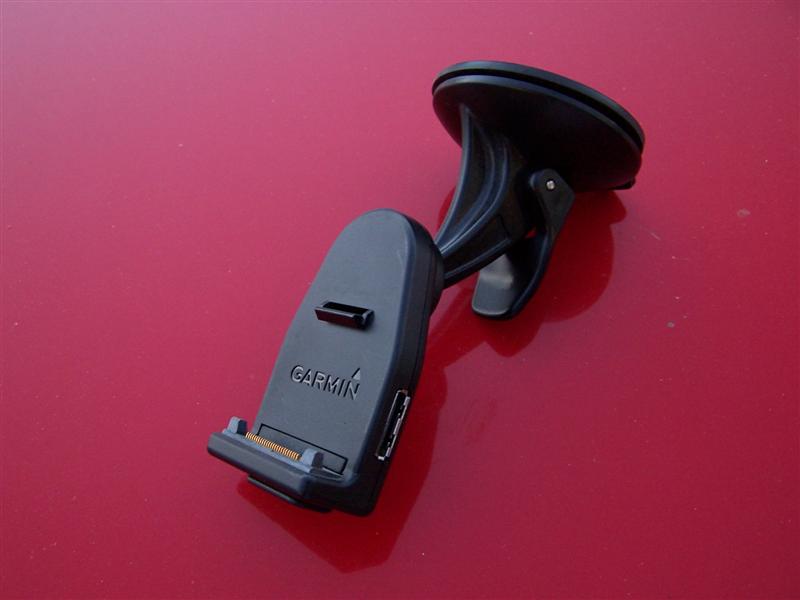
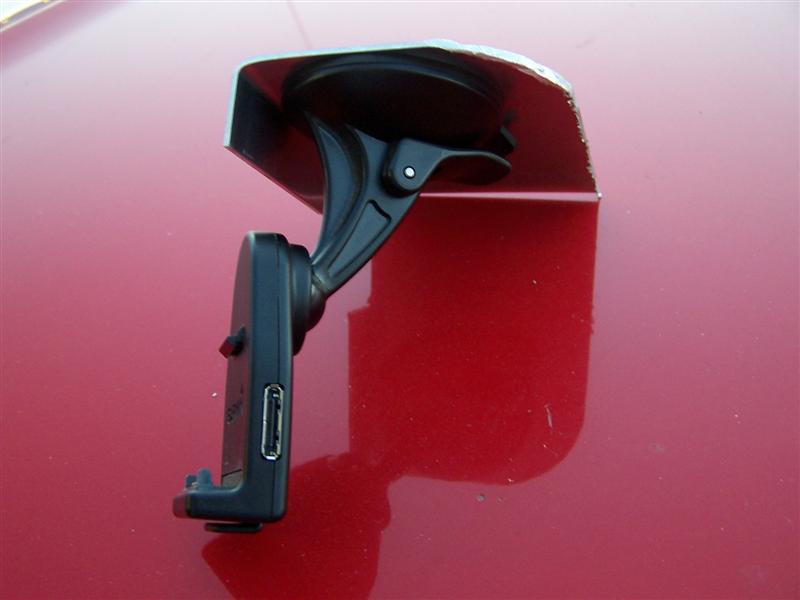
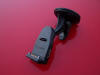
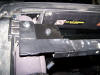
This is the stock mount for my Garmin Nuvi GPS. The power plug on the side of this mount is why I do not want an aftermarket mount. It's plug and go
|
|

|
|
This is a quick mockup of how the mounts will fit together.
|
|
|
|
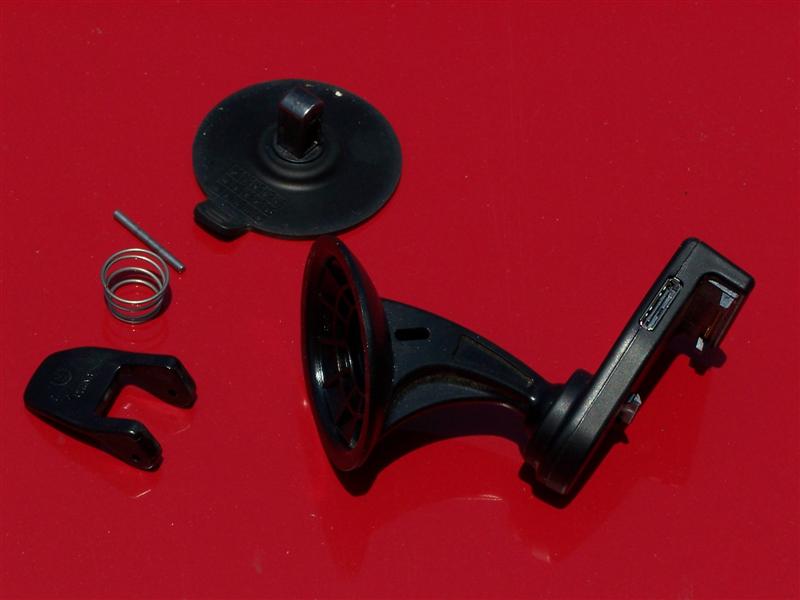
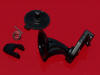
This is what the Garmin mount looks like when disassembled. Its pretty simple really, not too many parts.
The spring, suction cup and lever will not be used. But the metal pin will be used for what I have in mind. |
|

|
|
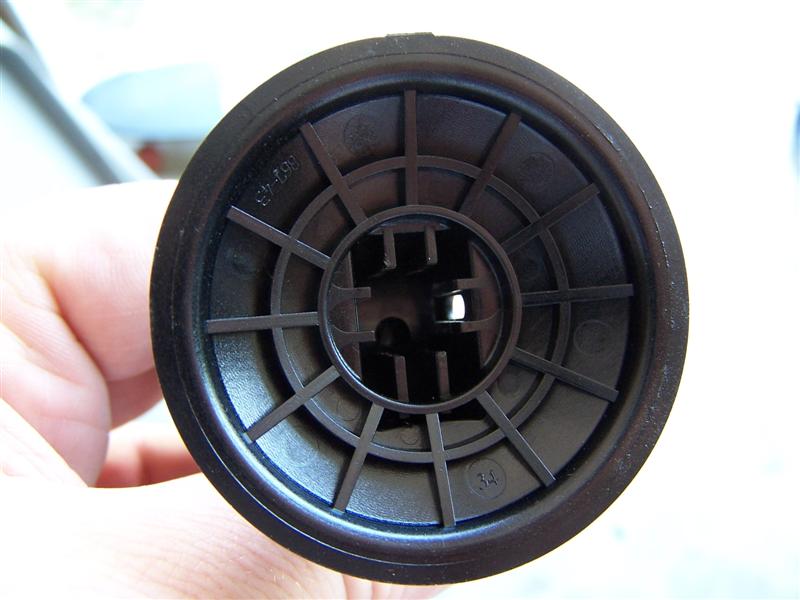
This is the part I am keeping. I needed to find a way to mount this permanently to a flat surface.
|
|
|
|
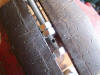
What I did was take a piece of threaded rod that will fit into the center of the Garmin mount and drill a hole to fit the pin I just removed.
|
|
|
|

|
|
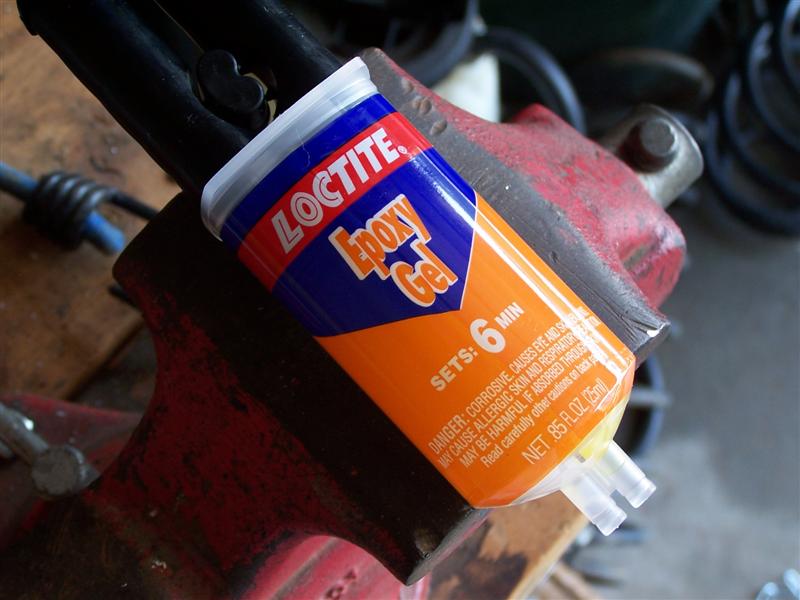
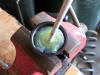
I have a couple tubes of this laying around. This should hold things in place.
|
|
|
|
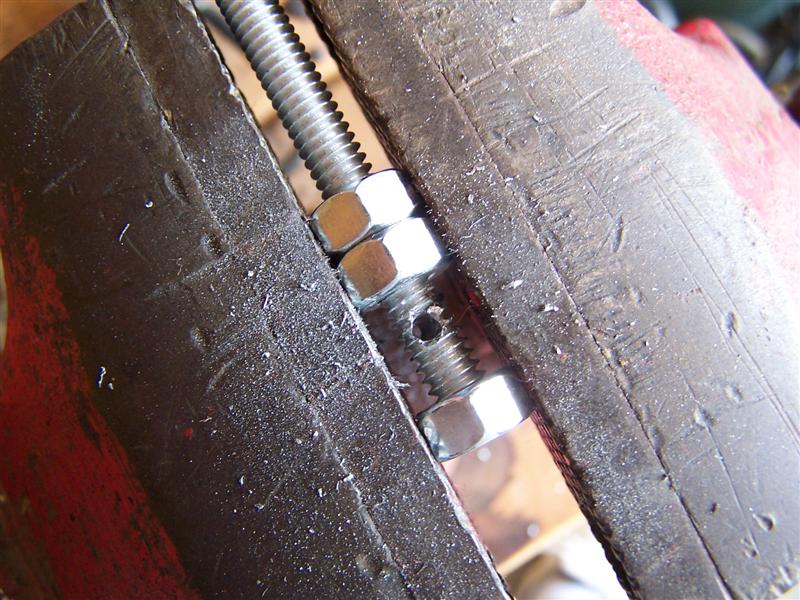
First I used the pin to hold the threaded rod in place and filled the hole with epoxy. I moved the rod around to get epoxy down in the hole.
Even though it does not show in the picture, the rod is actually a threaded rod. |
|
|
|
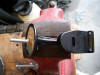
This is the end result. I mounted it to a piece of cardboard to keep everything squared up, and then just waited for the epoxy to dry.
I had a small amount of epoxy in the threads. To clean this, I just threaded a bolt onto the rod and ran it down to the level of the epoxy. Worked like a charm. |
|
|
Phase IV - Power
Pictures coming soon!
And now for a few pictures of the finished product.
|
|
|
|
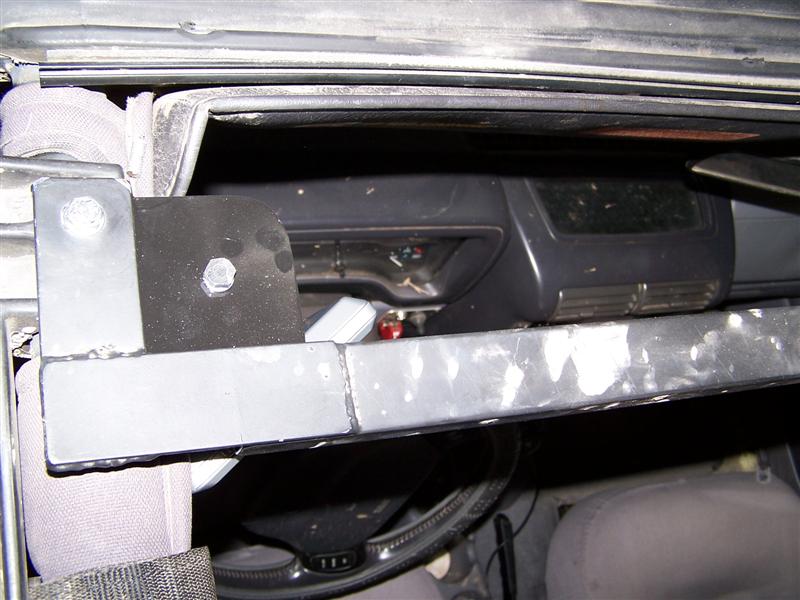
Another shot from the top of the door surround. i cut off the excess threaded rod and ground the bolt head smooth.
|
|
|
|
|
If you look closely, you can see the extra trimming I did to clear the visor. I cut off maybe 1/4" off the front of the mount.
|
|
|
|
|
|

|
|
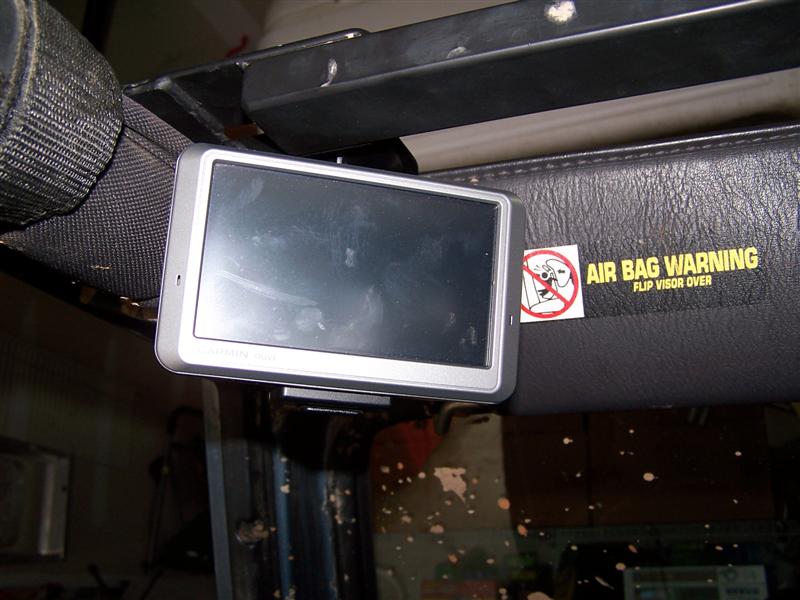
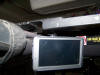
This is what it looks like from the driver seat. I can reach it easier now and its up out of the way.
|
|
|
|
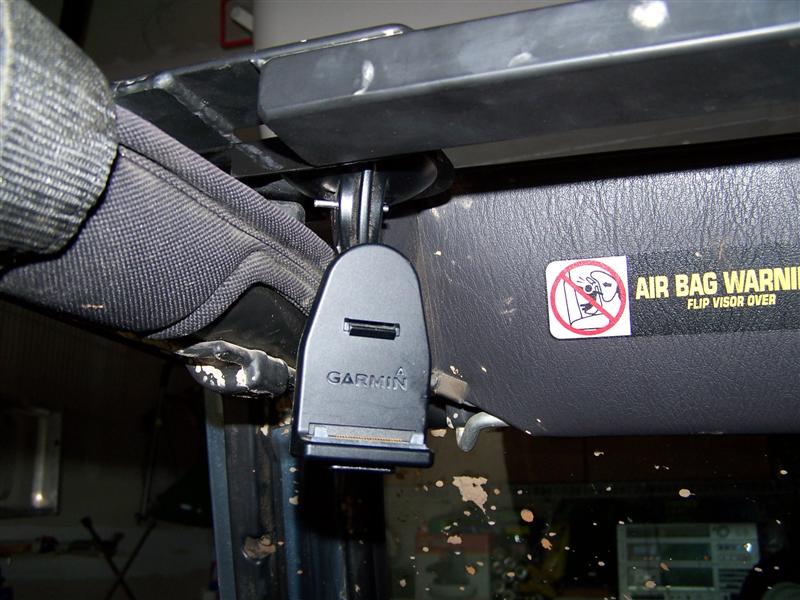
Here you can see about how much clearance I have at the top of the GPS.
|
|

|
|
This is a good shot of the mount. Here you can see the steel pin I used to hold the threaded rod in place. This was a part of the Garmin mount
|
|
|
Racing Duck Image By Donnovan Knight
© COPYRIGHT 2009 ALL RIGHTS RESERVED VENEMOUSDUCKRACING.COM |